|
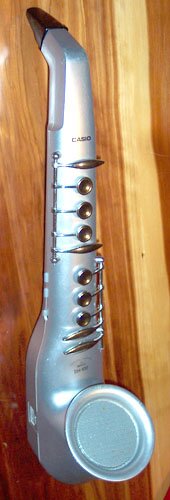
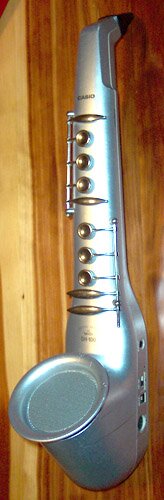
One of the things I have most disliked about the DH-100 is that Casio left off the E-flat key that Sax and flute players are accustomed to. In the interest of saving a little money, the function that would normally be filled by the right-hand little finger was moved to the left-hand little finger. It is not too hard to pick up the new fingering, but I never really got comfortable with it. And a few times, I found myself using the Casio fingering on a real sax, which of course doesn't work.
I got to wondering how hard it would be to add the missing key. I actually thought about this off and on for several years, but it always seemed like too much trouble. I envisioned laying out out a new circuit board, fabricating keys, figuring out how to mount it, etc. Turns out it wasn't all that hard. Using spare parts from my boneyard of old Casio horns, I was able to install the missing E-flat key. I am thrilled with the result.
Here are the basics of how the mod was accomplished. It doesn't really give enough specific detail, but it does give the general idea.
Parts required from an old horn:
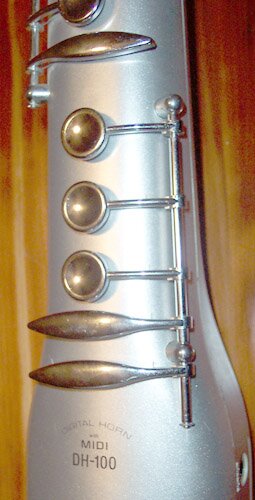
The basic idea is to install the new key on the new longer shaft and drill a hole in the case at the right spot for the new key. The new contact is glued onto the contact circuit board. Because the new contact is raised 1 pcb thickness higher than the other contacts, I sanded down the button actuator by 1 pcb thickness.
The rubber button has to be secured over the new contact. This is tricky, because the silicon rubber elastomer has a very low surface energy, meaning that there is virtually no adhesive that will hold it in place effectively. I ended up drilling small holes in the contact circuit board and wiring the rubber button into position, essentially 'stapling' it in place.
The only thing left to do is rewire the bottom two keys. The ciruit trace to the old C-key is cut and the old C-key is wired in parallel to the left-hand little finger key. The new key is wired in in place of the old C-key and becomes the new C-key.
Assemble and play!
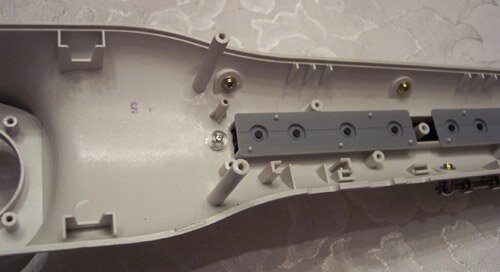 |
Inside shell of the DH-100 with the contact PCB removed. The new key actuator can be seen just left of the grey contact strip. |
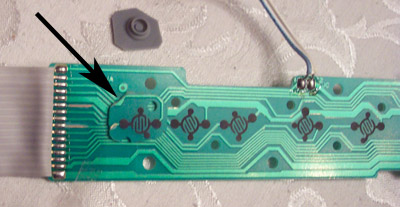 |
The contact PCB with the new contact glued in place. The new contact is cut from another contact PCB. A rubber contact button that has been cut from a longer strip is visible above the PCB. |
This page was last updated on 21 February, 2006. Copyright Ted Keys 2006